Configuring AssetTrack Server for the CA APM 12.9 Integration
On this page:
Prerequisites
Installing the AssetTrack database
Verifying AssetTrack Installation
Performing the initial configuration
Configuring AssetTrack for CA Integration
Installing the CA Integration Components
Setting up the integration
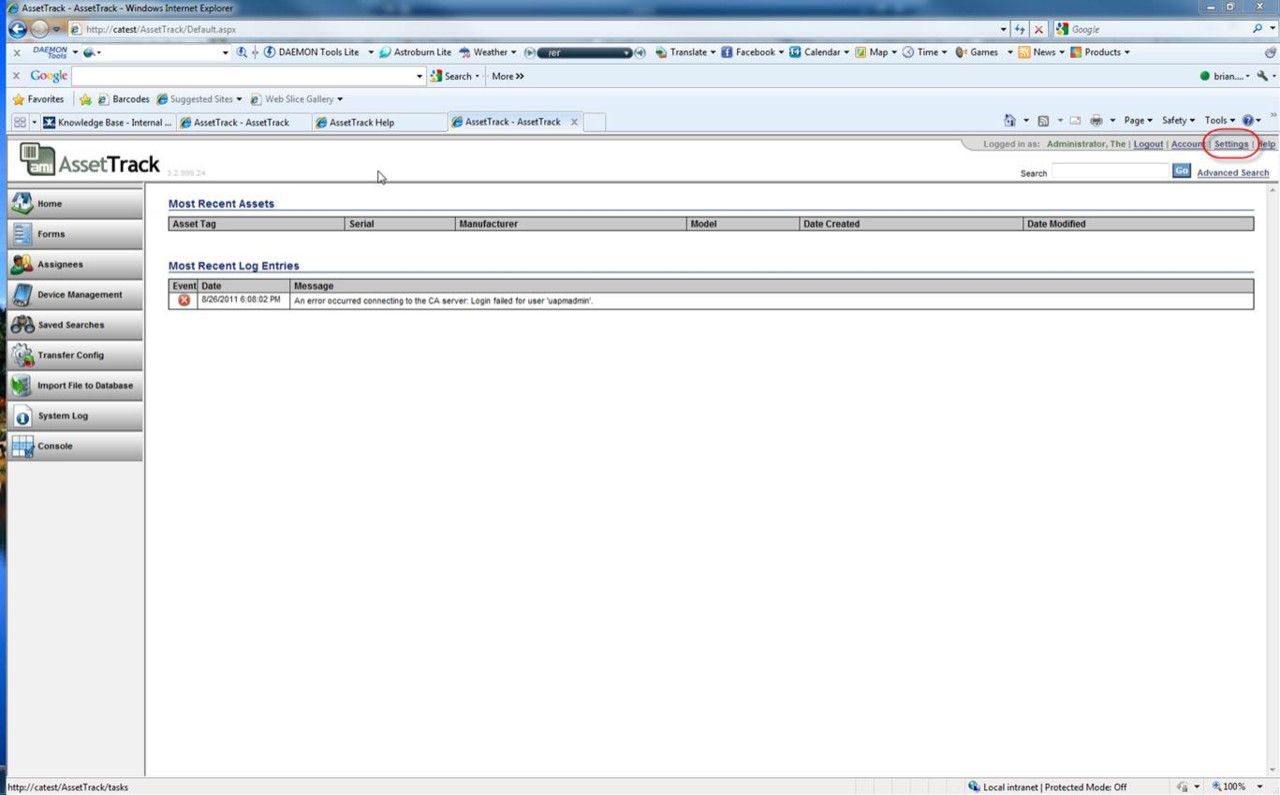
- Open AssetTrack Web.
- Click on the Settings Link.
3. Under AssetTrack Server > Integration settings > Repository integration set the value to CA Service Management.
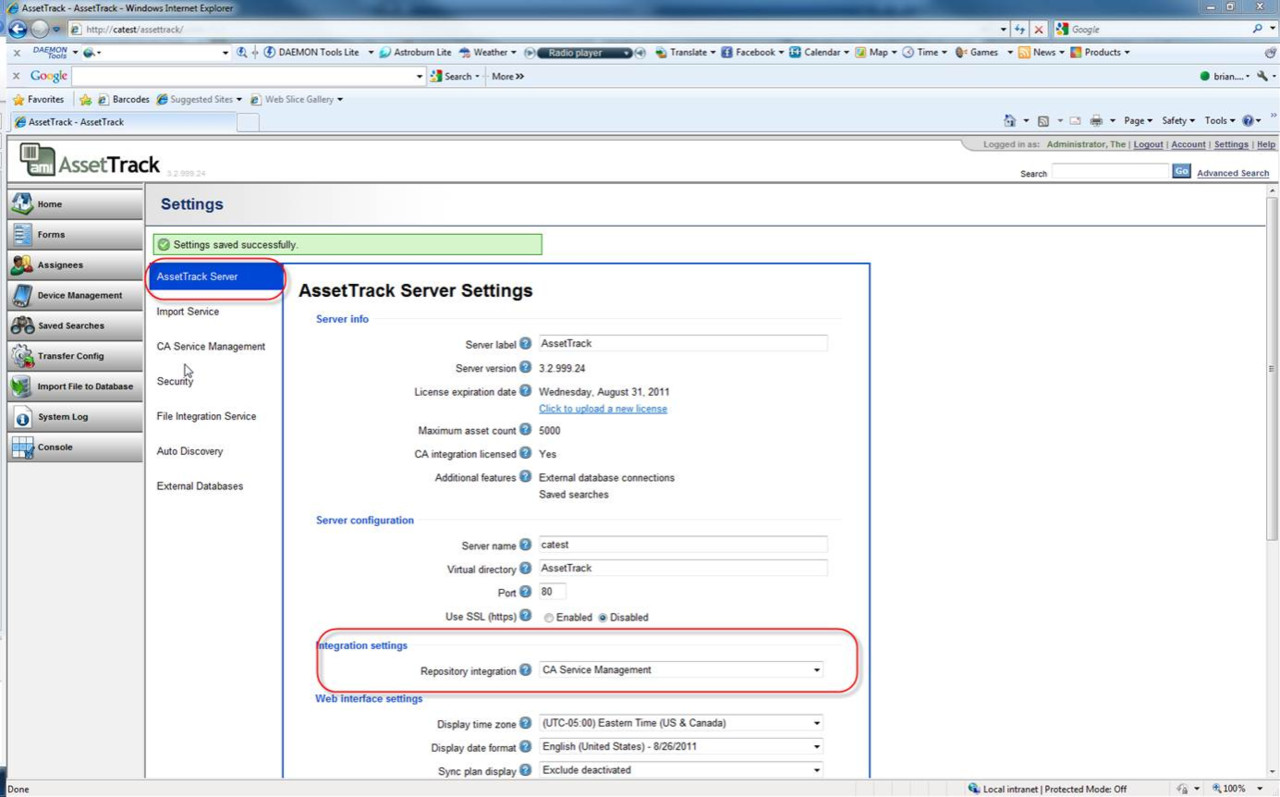
4. Click on the CA Service Management Tab.
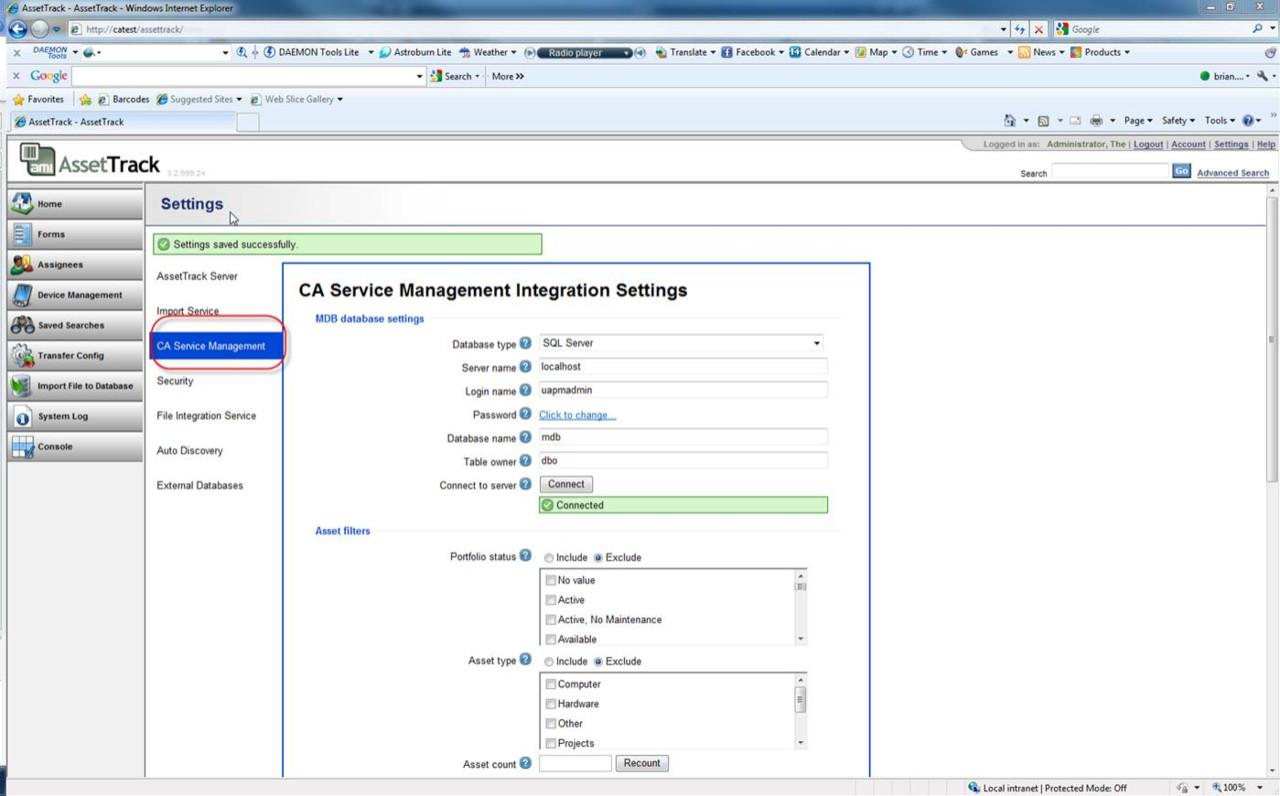
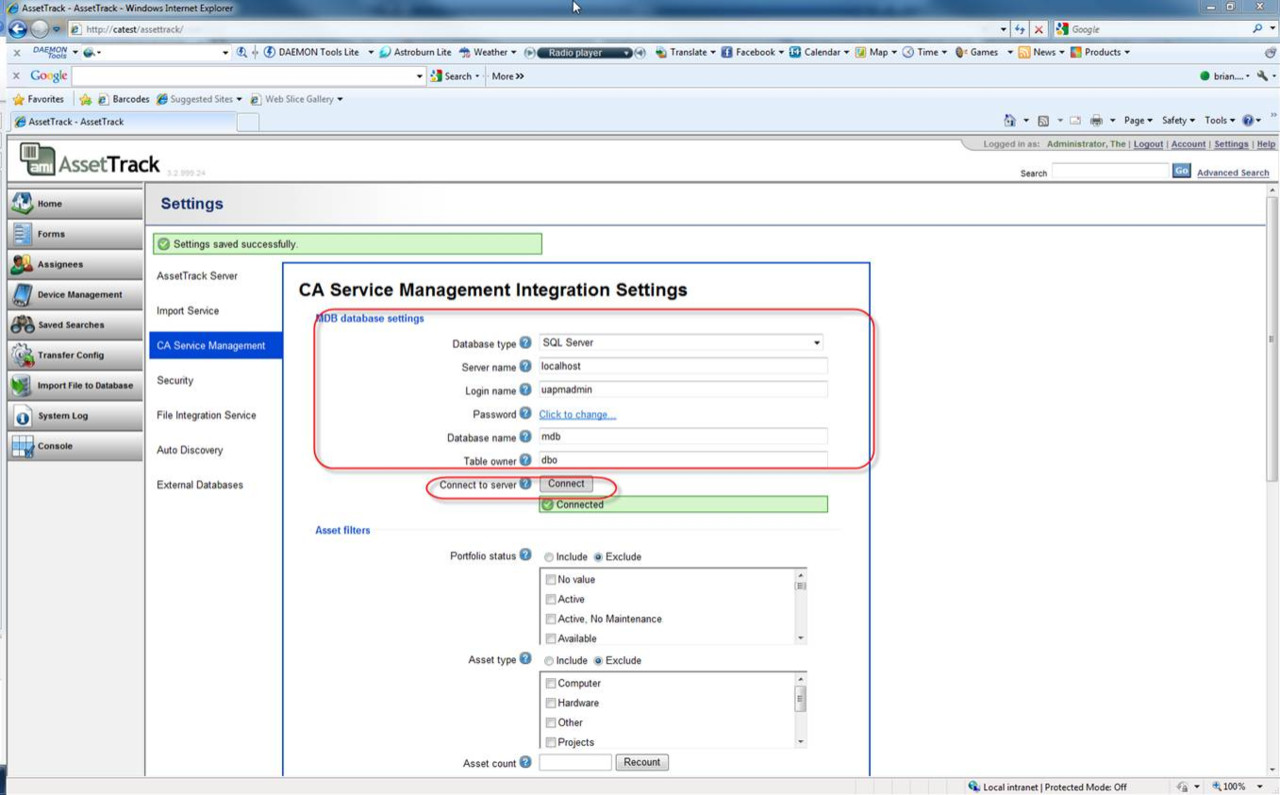
5. Fill out the MDB database settings with your connection settings to the APM MDB and click the Connect button to verify the connection.
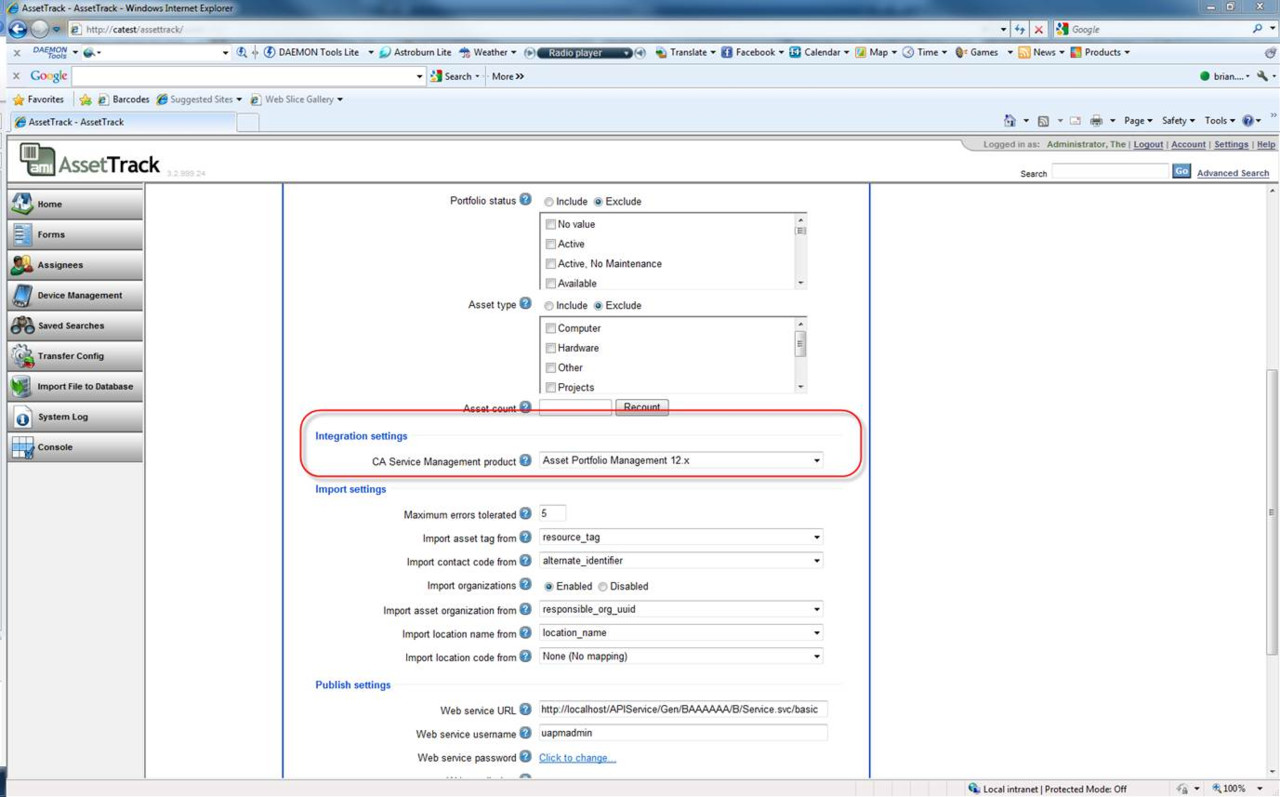
6. Navigate down to Integration settings > CA Service Management product and select Asset Portfolio Management 12.x as the value.
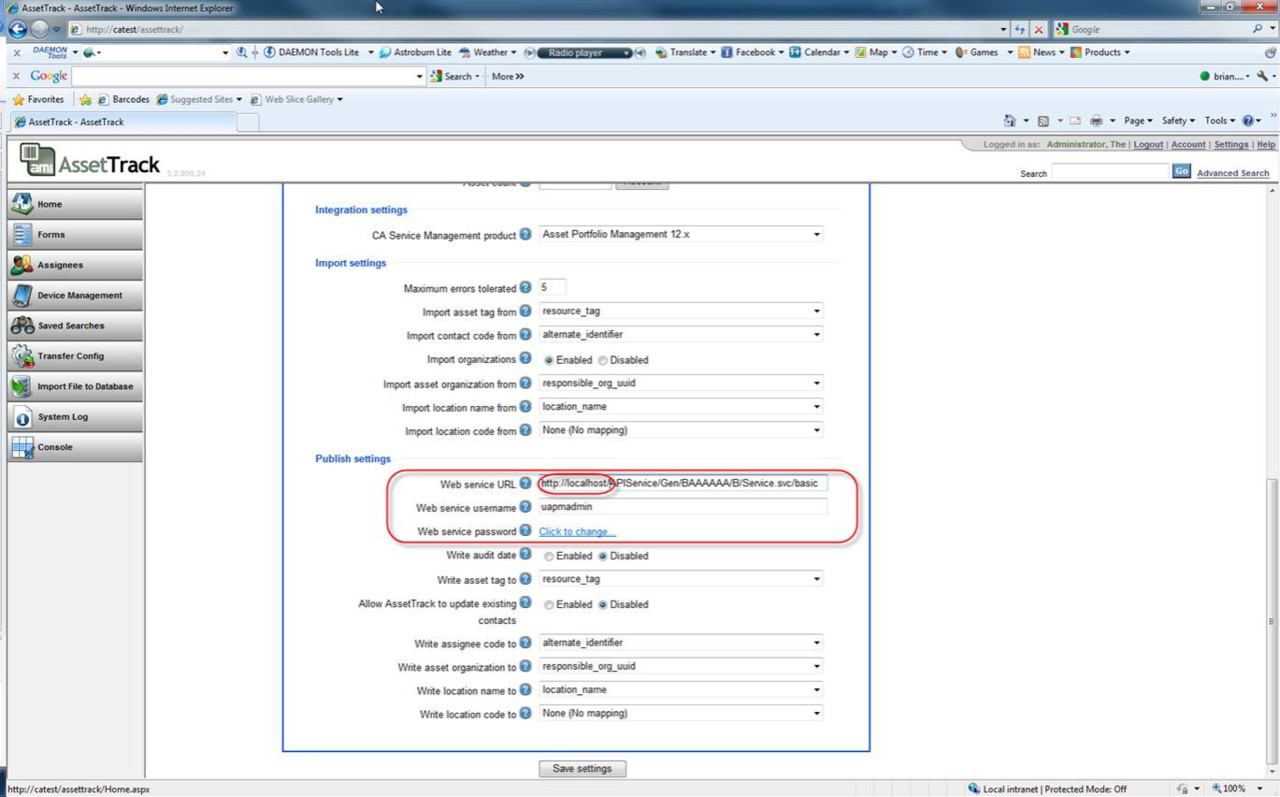
7. Navigate to Publish settings > Web Service URL and change it to your WSDL URL downloaded from APM.
8. Navigate to Publish settings > Web service username and password and enter the APM Web service username and password.
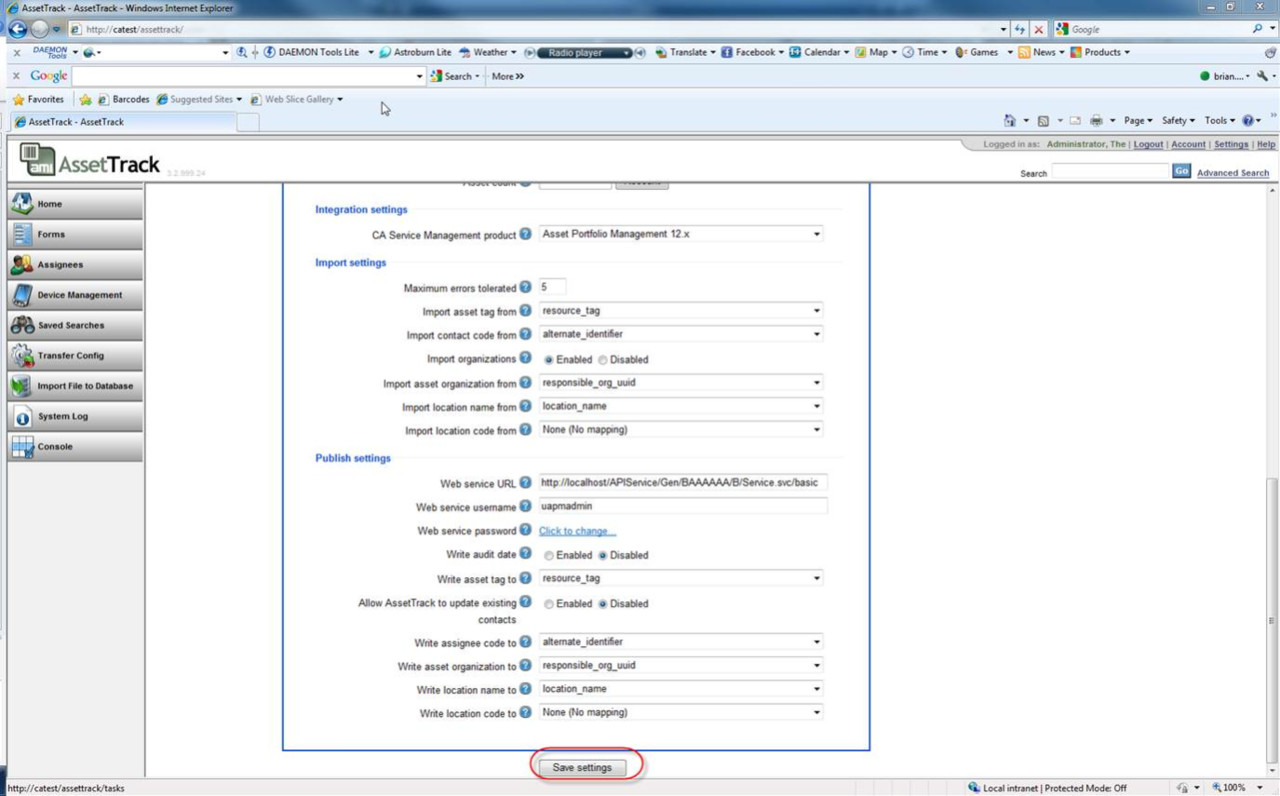
9. Click the Save settings button.
Testing the importer
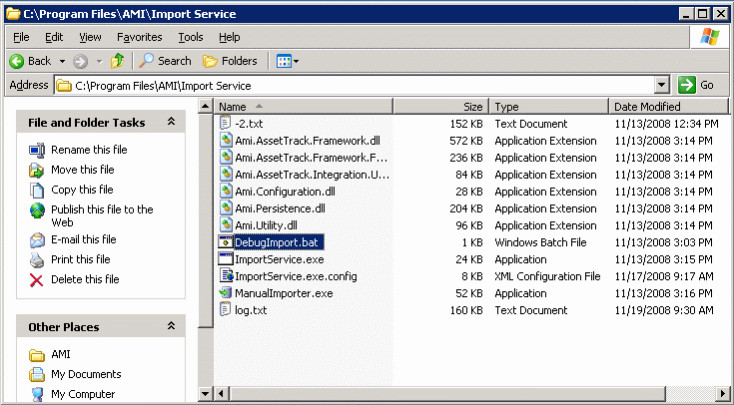
1. Navigate to C:\Program Files\AMI\Import Service. (Default installation directory for Unicenter Integration).
2. Double click DebugImport.bat.
. 
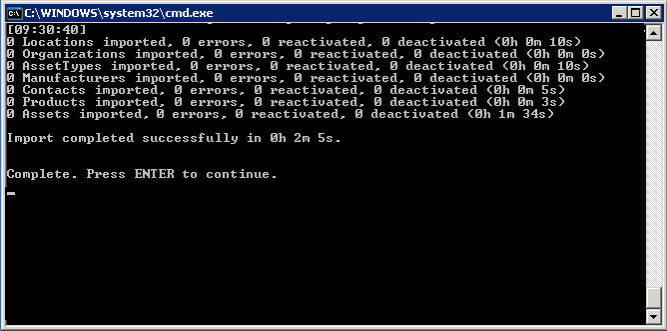
3. During the manual import there will be a lot of activity on the screen. With a successful import the following screen will be displayed.
Changing the publishing handler on the mobile forms
1. Open AssetTrack Web.
2. Launch the console.
3. Log into the console.
4. Double click on a from you would like to change.
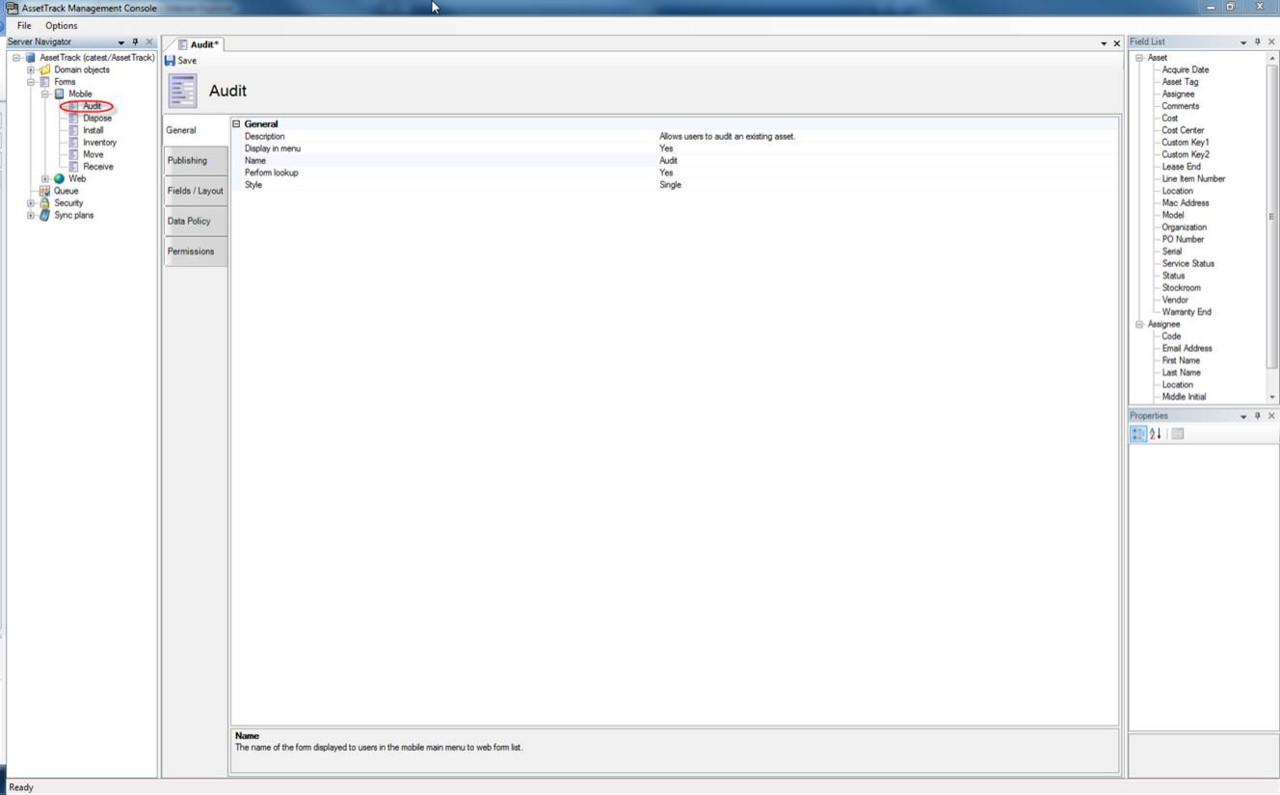
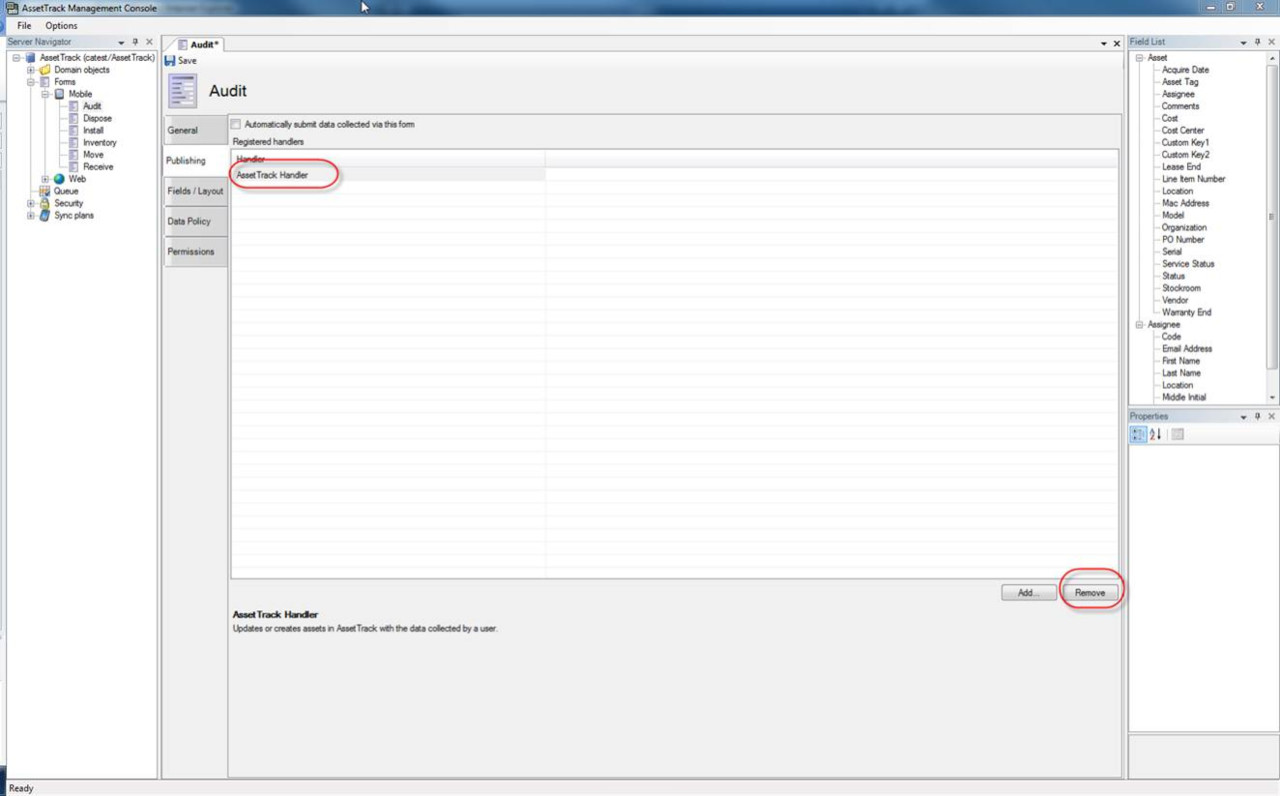
5. Click on the Publishing tab.

6. Select AssetTrack Handler from the Registered handlers and click the remove button.
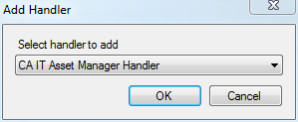
7. Click the add button.

8. Select CA IT Asset Manager Handler and hit OK.
9. Click the Save button.
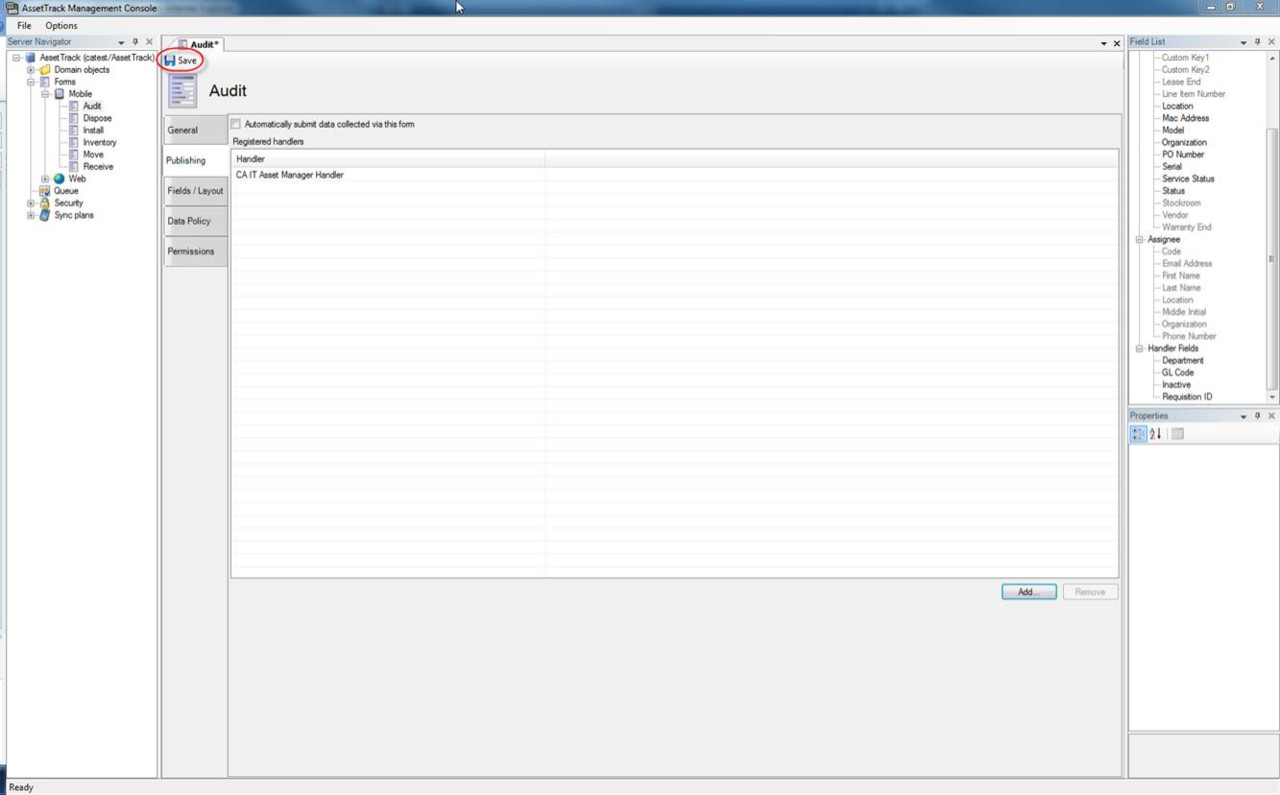
10. Repeat this process for all forms you would like to use for publishing.