Managing users and groups
On this page:
Managing users
Accessing the user list
Managing users and groups is done through the Management Console. See The Management Console for instructions on how to open the console.
- Expand the Security node to show the user and group management items.
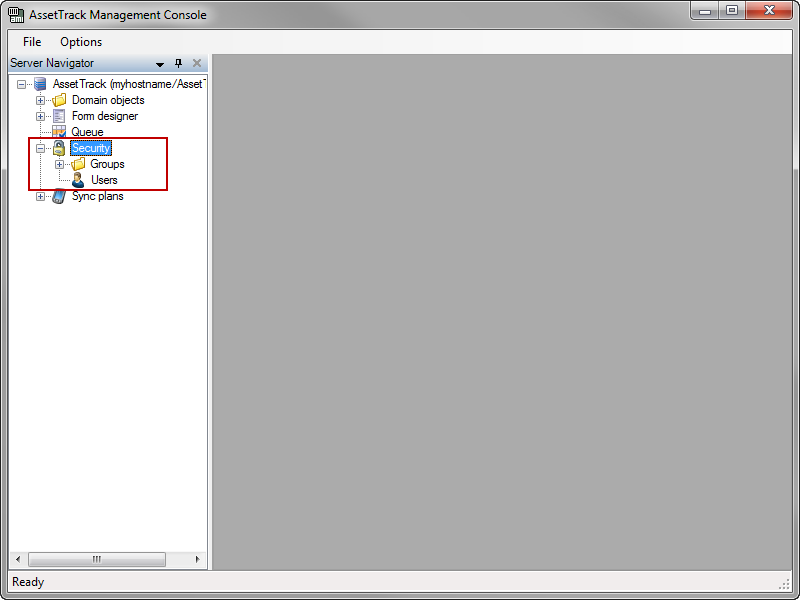
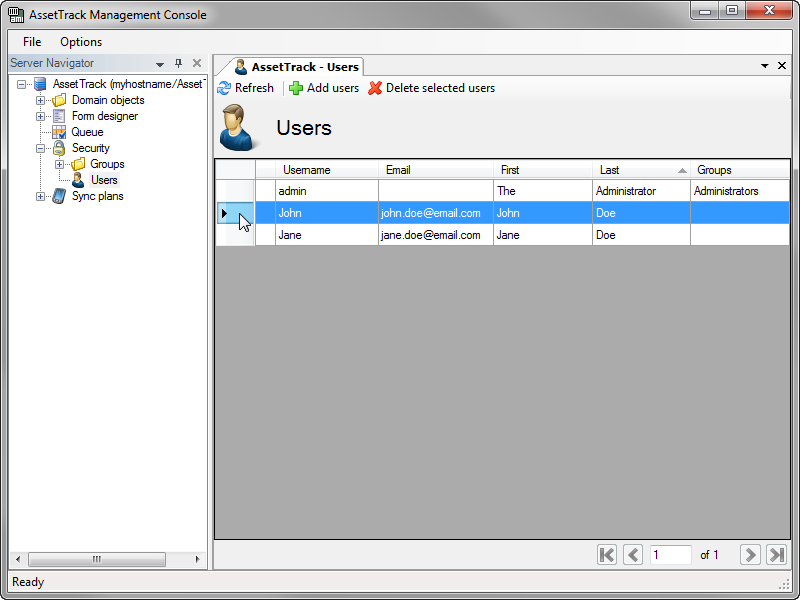
- Double-click the Users node to show the user list.
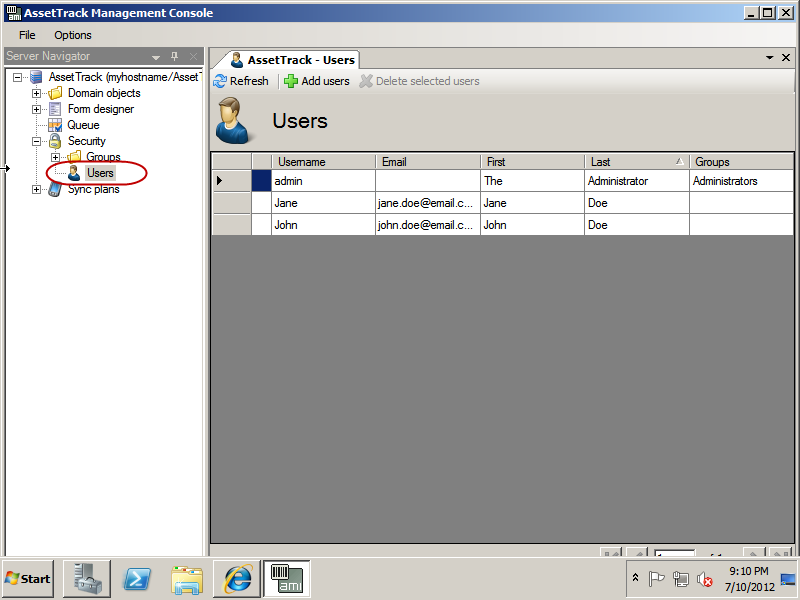
Editing users
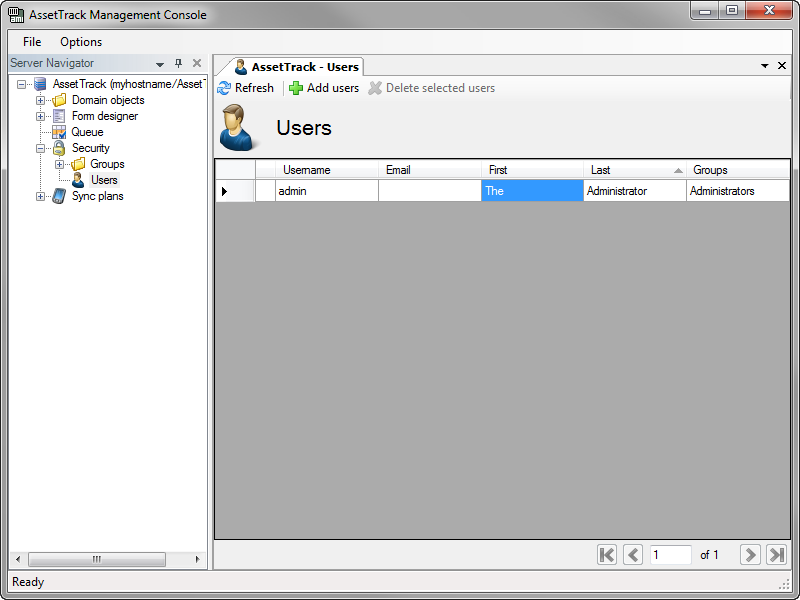
- In the user list, the users of AssetTrack are displayed and their email, first name, and last name can be edited.
To edit a cell, double-click on it and type in the new value.
Changing a user's password
This section only applies when running in AssetTrack security mode.
- In the user list, right click on a user to bring up a context menu. Click on Change password....
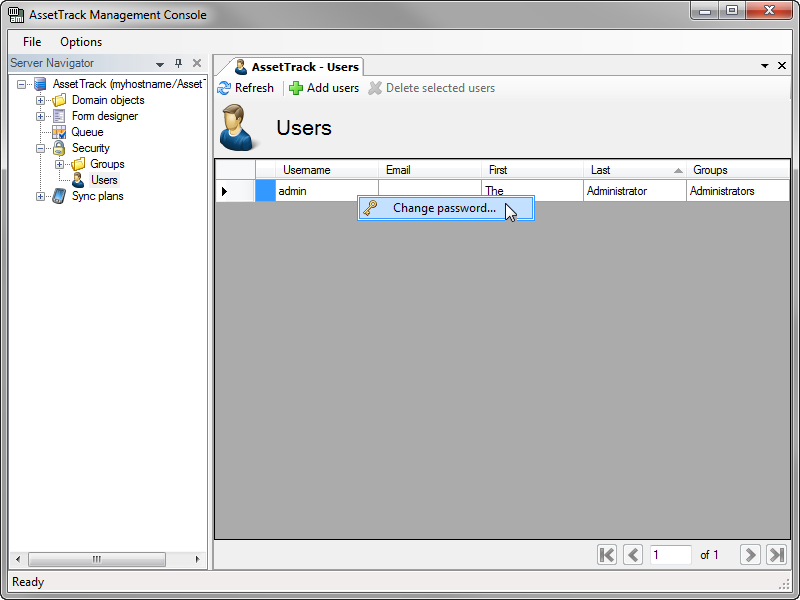
The password change dialog is displayed.
- Type in the new password and confirm it.
- Click Change password to apply the change to the user. If your passwords don't agree a red box with a white "X" will appear, and the Change password option remains dimmed.
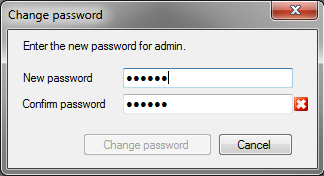
When your passwords agree, The Change password button becomes active.
- Click Change password to change the password.
Creating users
- Click on the Add users button in the menu bar.
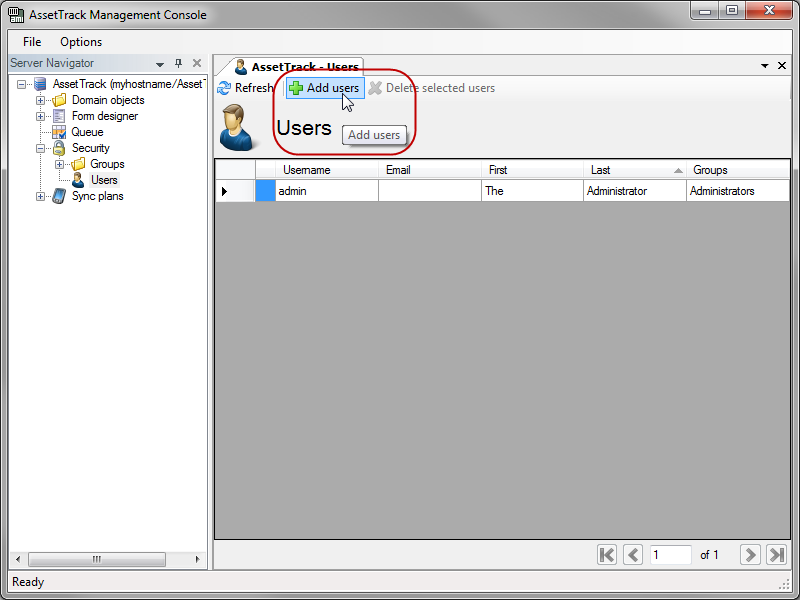
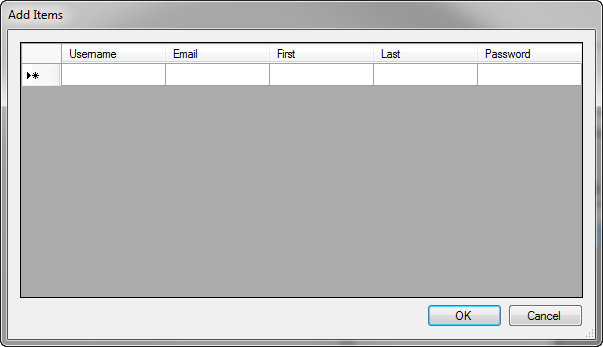
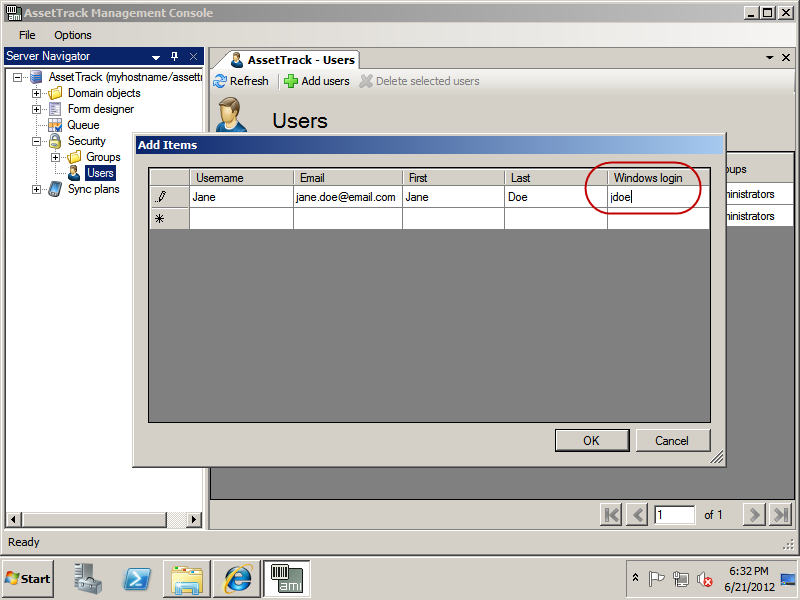
The Add Items dialog box is displayed.
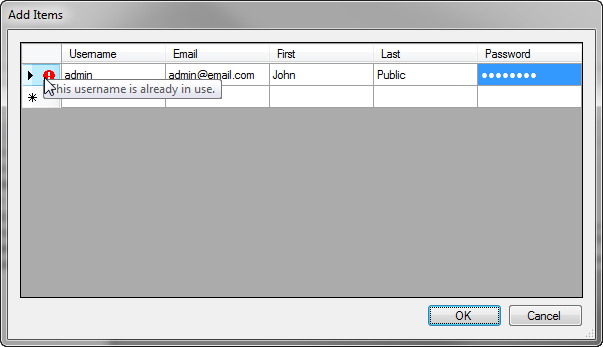
- Type in the new username, email, first name, and last name for the new users. Username, first name, and last name are all required. Usernames must be unique.
- In AssetTrack security mode, each user will need a password assigned to them.
- In Windows security mode, you can add a Windows login id that will associate a Windows domain user with the new AssetTrack user.
- If there are any errors in the users, they will be displayed with red exclamation points. Hover over them to see details of the error.
Deleting users
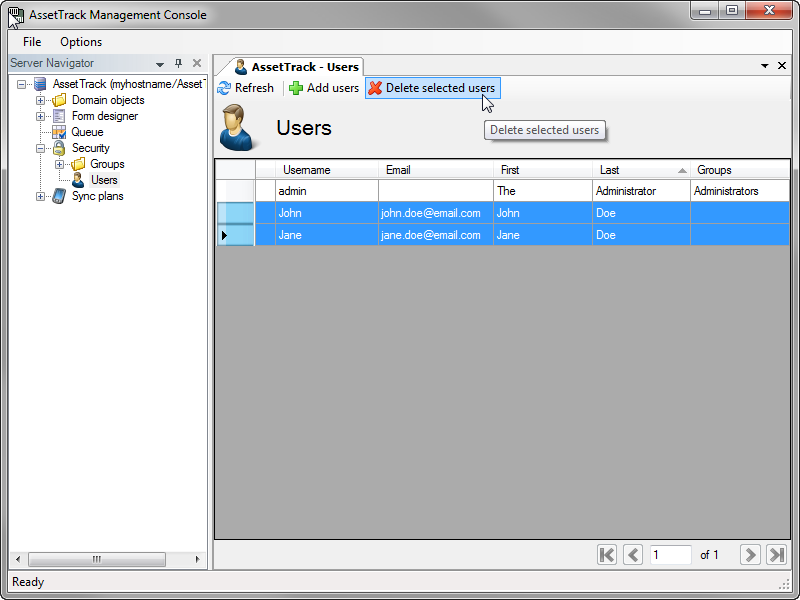
- In the user list, click on the row header (the blank cell to the left of the username) to select a user.
To select multiple users, hold down the Shift key to select a a range of users or the Control key to select individual users.
- Click Delete selected users to delete the users that are selected. The AssetTrack Management Console delete verification window opens.
- You can also press the Delete key to delete the selected users
- You cannot delete yourself
- Click Yes to proceed, No to cancel the deletion of the users.
Associating a user with a Windows user
If you installed the AssetTrack server and opted to use the Windows Security setting, your users must be associated with Windows users to provide access to AssetTrack.
- To associate an AssetTrack user with a Windows user, set the Windows login value for the user to the Windows username for the user without the domain. You cannot change the Windows login of the user currently logged in to the Console.
Managing groups
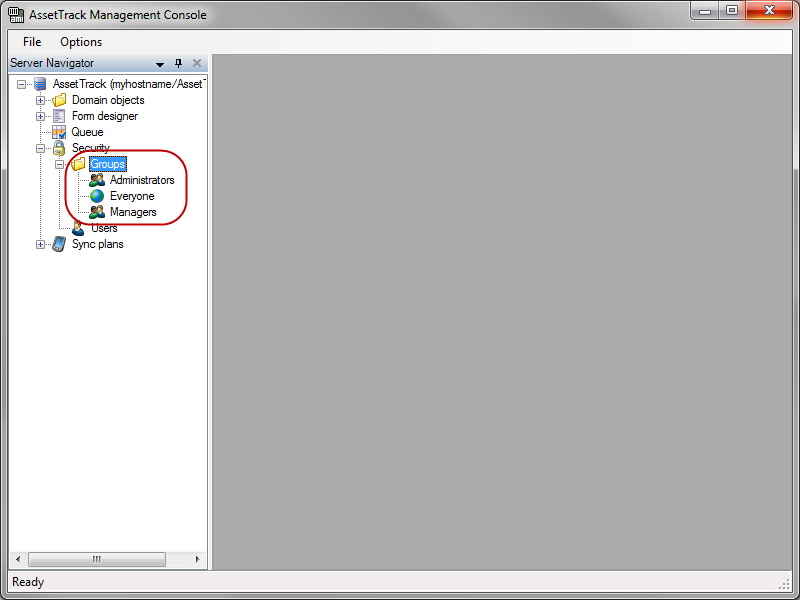
You can define user groups to control the access that users have to different parts of AssetTrack. By default, three user groups are created:
- Administrators - These users have full rights to do everything including manage security and change the system configuration using the Management Console. These rights are irrevokable and the Administrators group cannot be deleted or renamed.
- Managers - These users can manage domain objects and manage data in the queue for the default AssetTrack forms, but cannot change security nor alter the system configuration.
- Everyone - Every user is a member of this group and by default it has no group permissions. These users can still log in to AssetTrack Server and the Console, but they cannot manage domain objects or edit data in the queue for the default forms. This group cannot be deleted or renamed.
Group permissions
AssetTrack's group permissions control access to various parts of the system. Users that are members of multiple groups have the group permissions of every group they are a member of. Group permissions applied to the Everyone group apply to every user in AssetTrack.
| Permission | Description |
| Manage users and groups | Allows users in the group to access the Security node in the Console and edit users and groups of the server. This permission is only granted to the Administrators group and cannot be revoked from that group or granted to another group. |
| Manage system settings | Allows users in the group to access the Settings link in the upper-right of AssetTrack Server. See: Configuring AssetTrack Server Settings. |
| Create, edit, and delete domain objects | Allows users in the group to create, edit, and delete Locations, Organizations, Assignees, Asset Types, Products, and Vendors. |
| Search and view assets | Allows users in the group to use the quick search and advanced search features on AssetTrack Server as well as view assets that are in the system. |
| Edit assets | Allows users in the group to save changes that they make to assets in the asset detail page. |
| Import data files | Allows users in the group to import asset and assignee data into AssetTrack using the Import File page. |
| View system log | Allows users in the group to view and clear the system log on AssetTrack Server. |
| Transfer forms configuration | Allows users in the group to import and export the configuration of forms and fields using the Transfer Config page. |
| Create, edit, and delete forms | Allows users in the group to create, edit, and delete all forms using the AssetTrack Console. Users in the group do not need to have permissions on the forms themselves in order to edit them. |
| Create, edit, and delete sync plans | Allows users in the group to create, edit, and delete all sync plans using the Device Management page on AssetTrack Server. This also allows users in the group to edit sync plan permissions In the Sync Plans node in the Console. Users in the group do not need to have permissions on the sync plans themselves in order to edit them. |
Viewing the group list
- With the Security node expanded, click on the plus sign next to Groups to view the list of groups on the server.
Editing a group
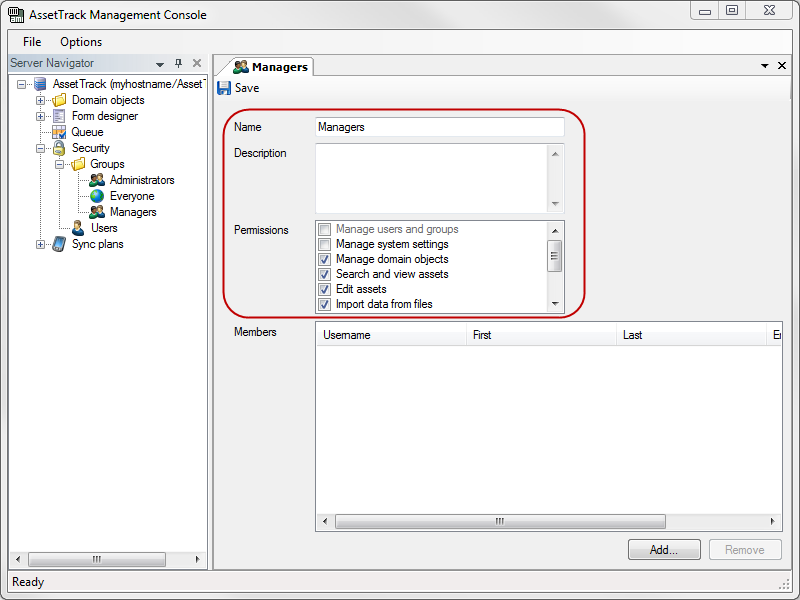
- Double click on a group to open it up for editing.
- You can edit the group Name, Description, and select or deselect permissions.
You cannot edit the name or the description of the Administrators or Everyone groups and you cannot edit the permissions of the Administrator group.
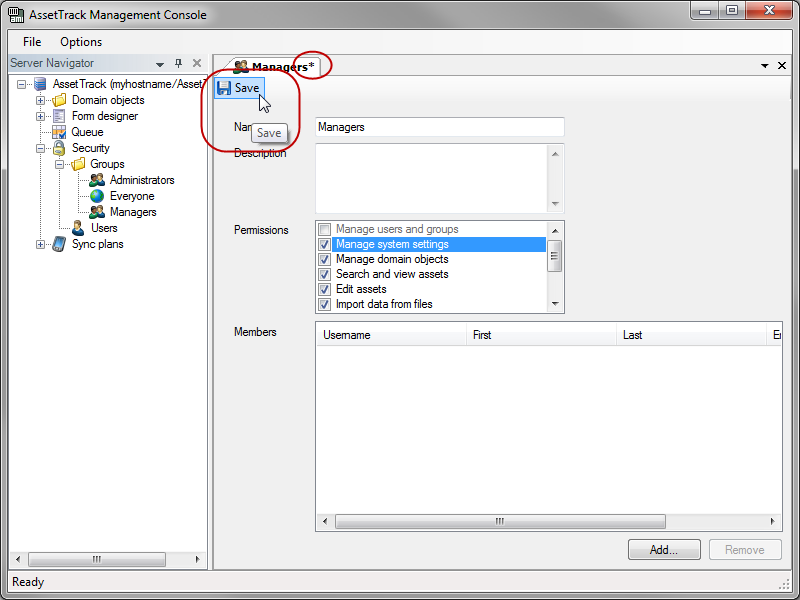
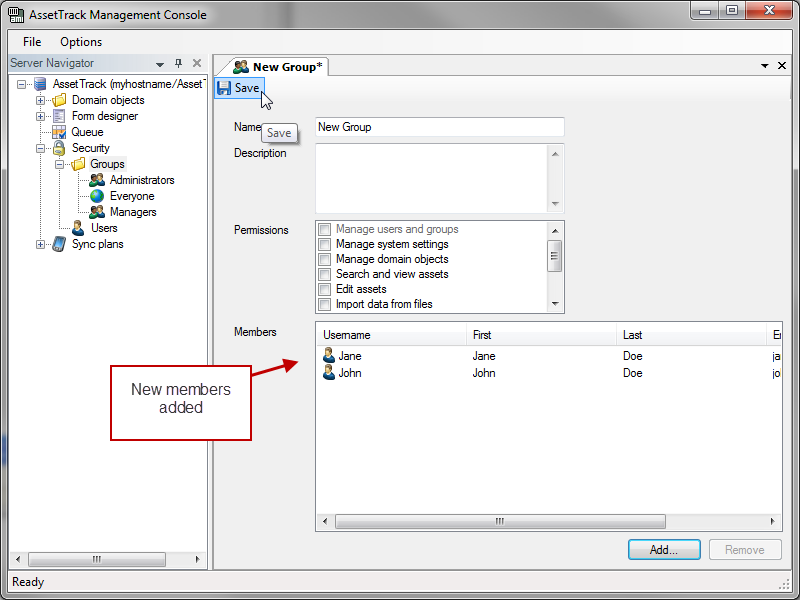
Note that an asterisk appears on the group tab when there are changes to be saved. - Click Save to save your changes to the group.
Creating a group
- Right click on the Groups node to bring up a context menu. Click Create new group... to create a new group.
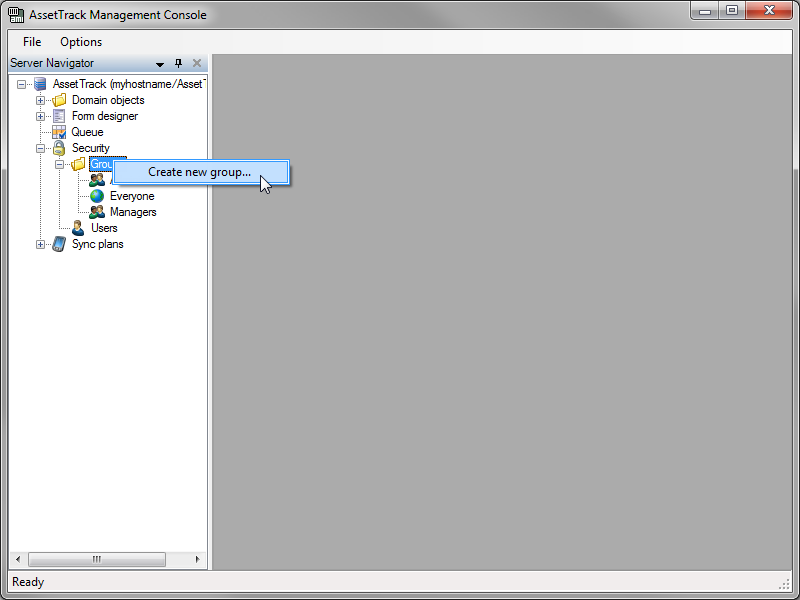
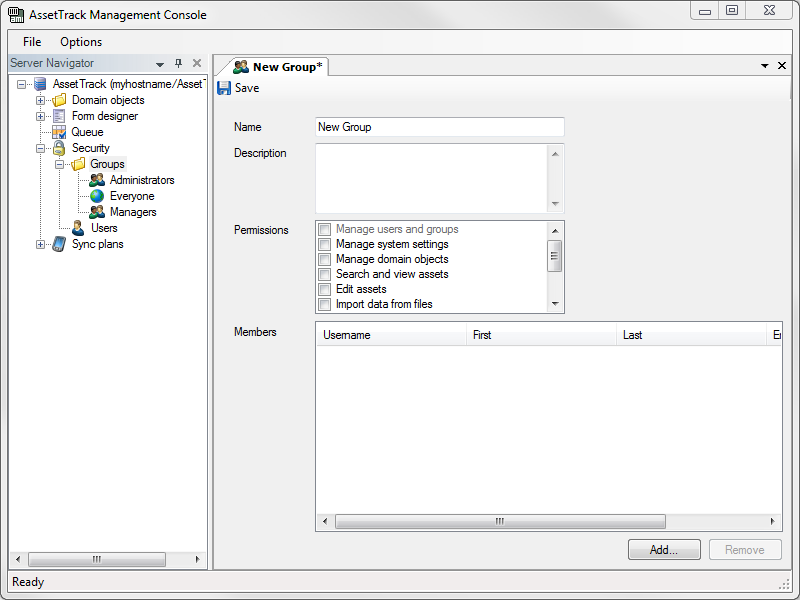
- This will bring up a new group editor with no permissions or users.
Adding a user to a group
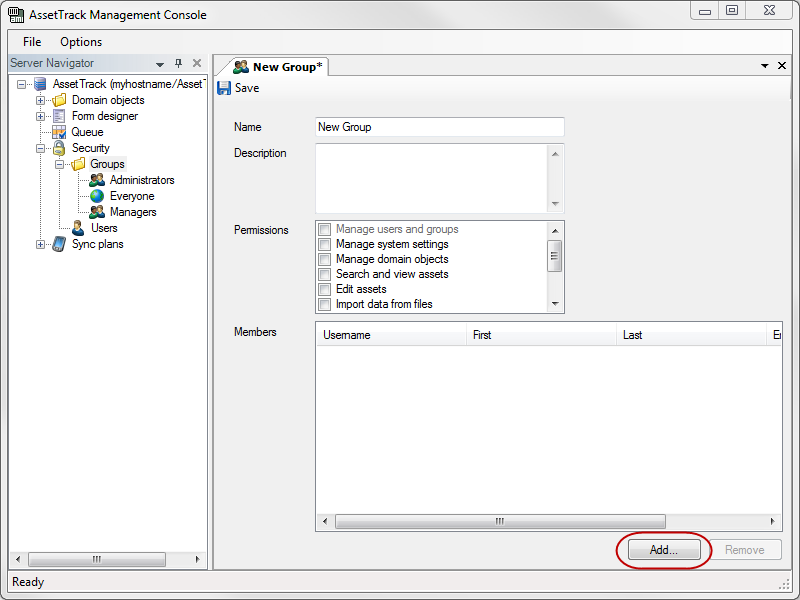
- In the group editor, click on the Add... button to bring up the user list.
- In the user list, check the users that you wish to add to the group.
If you select a user that is already in the group, nothing will happen.
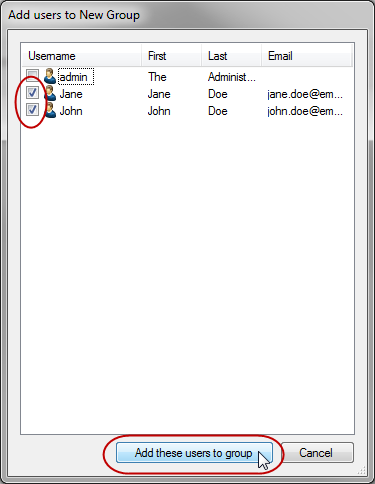
- Click Add these users to group to add the users to the group. They will now appear in the Members list.
Removing users from a group
The Administrators group and the Everyone group cannot be deleted.
- In the group editor, click the users you wish to remove from the Members list.
To select multiple users, hold down the Shift key to select a a range of users or the Control key to select individual users.
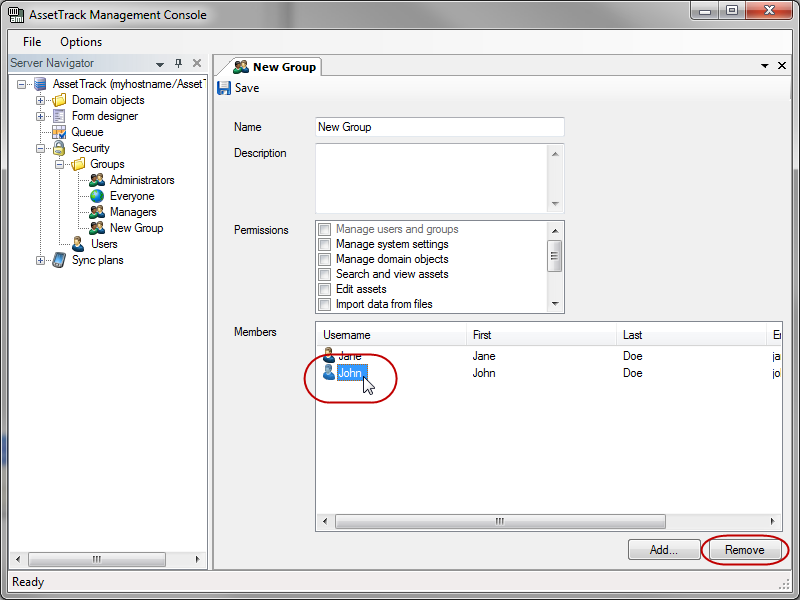
- Click Remove to remove the selected users from the group.
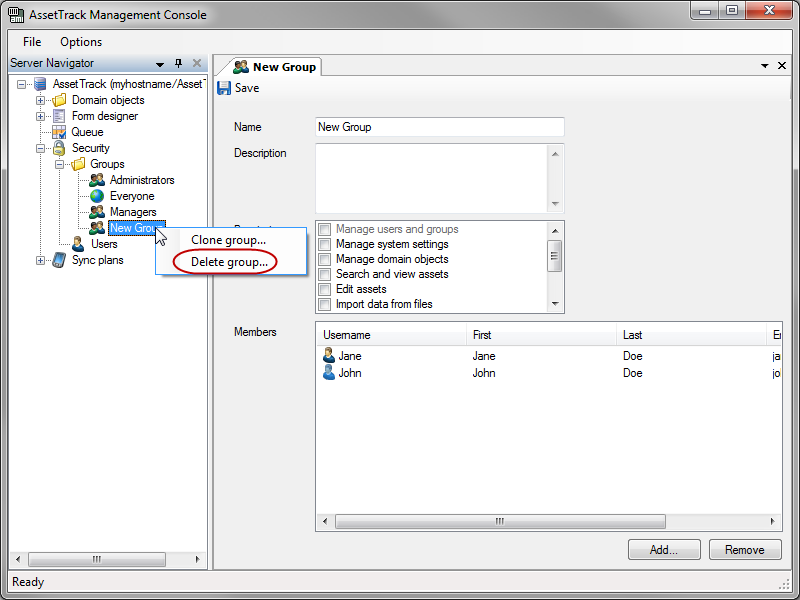
Deleting a group
- Right click on a group to bring up a context menu. Click Delete group....
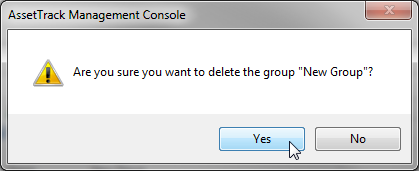
- Click Yes in the confirmation box to delete the group.
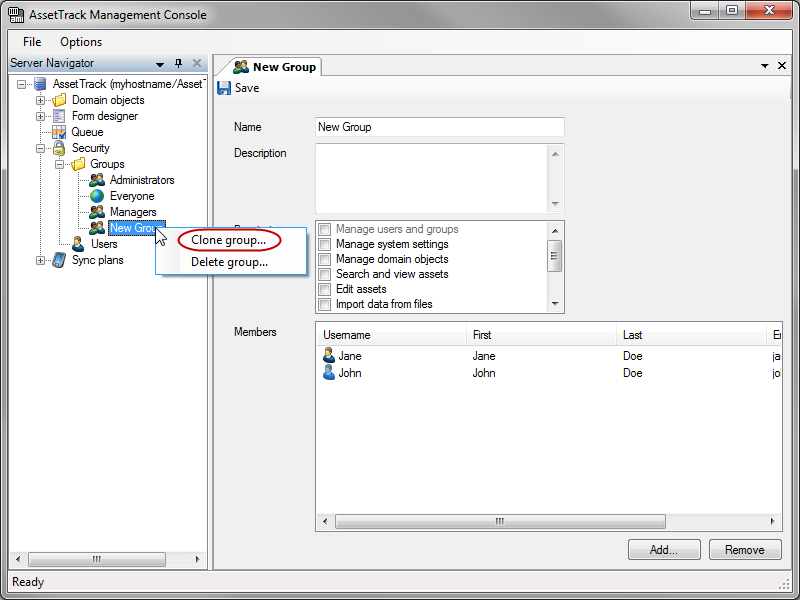
Cloning a group
Cloning a group will create a new group with the same description, permissions, and members.
The Administrators group and the Everyone group cannot be cloned.
- Right click on a group to bring up a context menu. Click Clone group....
- A new group editor will come up with the same description, permissions, and members as the group that was cloned.
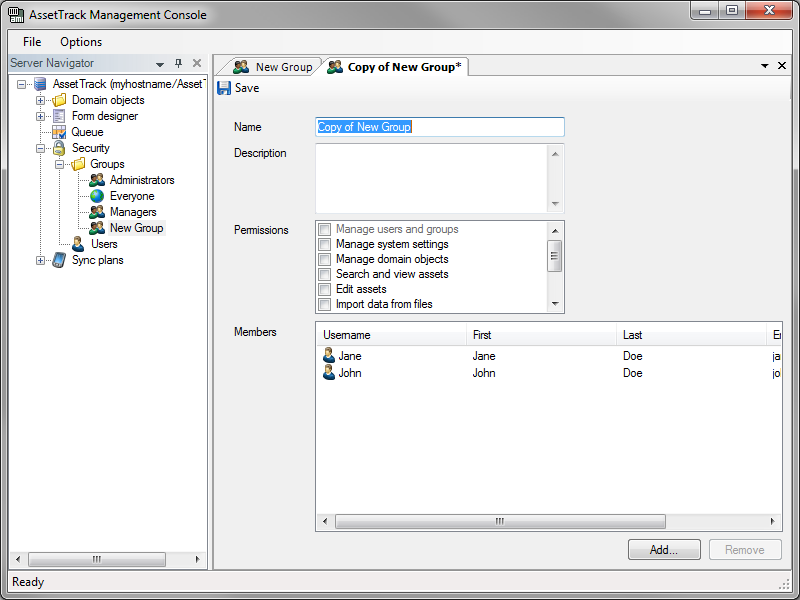
- Rename the group, and then set the permissions, or add users before clicking Save.